How to Create URL Squarespace Redirects
Creating URL Squarespace redirects is an absolutely crucial task for maintaining your website's SEO, user experience, and overall functionality. Whether you're moving content, deleting pages, or simply want to establish tidier URLs, these Squarespace redirects ensure that your visitors and search engines are guided to the correct destination.
Why Are URL Redirects Important?
Imagine you've renamed a product page, or perhaps you've reorganized your blog categories. If someone tries to access the old address, they'll be met with a frustrating "404 Not Found" error page. This is irritating for users and signals to search engines that your site might be poorly maintained, potentially harming your search rankings. A well-executed website redirect solves this problem by automatically sending visitors and bots from the old, expired URL to the new, relevant one
Step-by-Step Guide to Creating a Redirect in Squarespace
Squarespace redirects are relatively straightforward, all within the dedicated URL Mappings panel.
Go to Settings in your Squarespace website
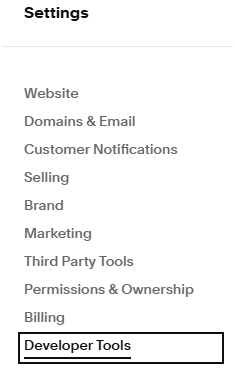
In the Home Menu on the left: Click on the Settings Gear icon in the bottom left hand corner
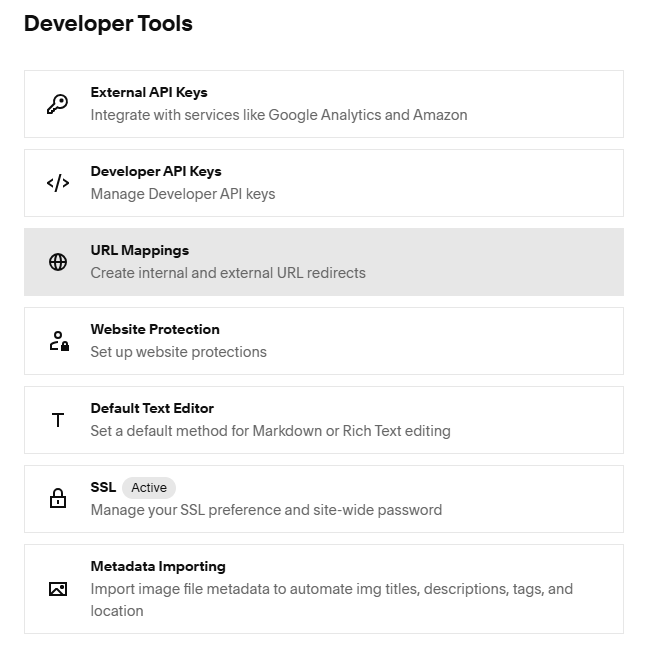
In Settings: Click on Developer tools
Select URL Mappings: This is the core area for setting up your Squarespace redirects
Enter Your Redirects in the text box: The format for a redirect is always: old-URL -> new-URL type (example: 301)
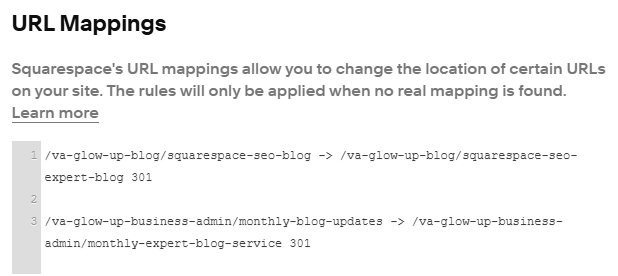
Format Breakdown:
Old URL: This is the path of the page you want to redirect from. It must start with a forward slash (/)
New URL: This is the path of the page you want to redirect to. It also starts with a forward slash (/)
Type: This specifies the type of redirect. For nearly all permanent changes, you'll use 301 (more on this below)
Here are some common examples for your URL mapping in squarespace:
/old-page -> /new-page 301 (Redirects one single page)
/blog/my-old-post -> /blog/updated-article 301 (Redirects a specific blog post)
/old-category/(.*) -> /new-category/$1 301 (Redirects all pages within an old category to a new one using a Regular Expression (Regex). This is a real time-saver!
Best Practices for URL Redirects
To ensure your Squarespace redirects are working hard for your website, keep these tips in mind:
Stick to 301s for Permanent Moves: A 301 redirect tells Google and other search engines that a page has permanently moved.
Always Test Your Work: After setting up a website redirect, open an incognito or private browser window, type in the old URL, and check that it successfully lands you on the new page.
Redirect Deleted Pages: If you decide to bin a page entirely, don't just leave it as a 404. Redirect it to the next most relevant existing page.
Avoid Redirect Chains: Make sure you aren't redirecting URL A to URL B, which then redirects to URL C. This is called a redirect chain. It adds latency (slows things down) and can confuse search engines, potentially diluting your SEO value.
Tidy Up the URL Mappings List: Periodically review your URL mapping Squarespace panel. A huge, cluttered, or incorrect list of redirects can slow your site down.
Use Relative URLs: Always use the path that begins with a slash (e.g., /my-page), not the full absolute URL (e.g., https://www.yourdomain.com/my-page). Squarespace handles the domain part for you.
Conclusion
Mastering Squarespace redirects is an absolutely essential skill for any UK business or blogger running a website. By taking the time to implement them correctly via the URL mapping Squarespace panel, you'll provide a seamless experience for your visitors, stop losing out on valuable search engine rankings, and keep your site tidy and professional. It’s a simple fix that pays huge dividends in website redirect health!
If you are interested in a redesign for your website and would like to see some of my work, please take a look at Studio Soph’s past work.